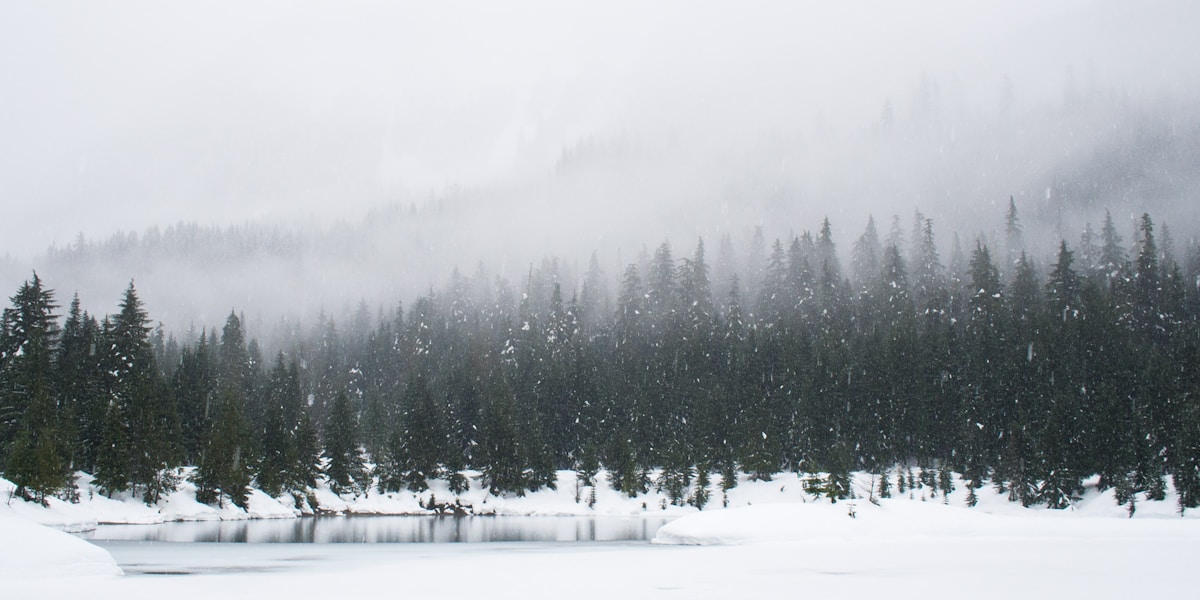
Why Avalanche Safety Gear Is Non-Negotiable
Avalanche burial is a race against time. After 15 minutes under the snow, survival probability drops below 50%. After 35 minutes, it's below 25%. Professional rescue teams take an average of 45 minutes to arrive — far too late. Companion rescue is the only realistic survival option. That means every person in your party needs a beacon, probe, and shovel, and every person needs to know how to use them under stress.
This isn't gear you hope to use. It's gear you train with until the rescue sequence becomes automatic. If you're heading into avalanche terrain — backcountry skiing, snowboarding, snowmobiling, or even some sidecountry gates at resorts — the beacon-probe-shovel trio is as essential as your boots. For the complete backcountry gear system, see our backcountry skiing gear essentials guide.
Avalanche Beacons (Transceivers)
An avalanche beacon is a radio transceiver that operates on a standardized 457 kHz frequency. In normal use, everyone in the group has their beacon in transmit mode, continuously sending a pulsed signal. If someone is buried, the rest of the group switches to search mode, and the beacon displays distance and direction to the buried signal. Modern 3-antenna digital beacons have transformed what was once a difficult, skill-intensive search into a more intuitive process — but practice is still essential.
Key Beacon Features
- 3-antenna processing: All modern beacons worth buying use three perpendicular antennas. This provides distance AND direction simultaneously. Older 2-antenna models only show distance, requiring more skill to determine direction.
- Search range: Maximum range varies from 40-70m depending on burial orientation. The Mammut Barryvox S leads at 70m.
- Multiple burial marking: When more than one person is buried, better beacons can "mark" (electronically flag) a found signal to search for the next victim. This is critical for group burials.
- Signal processing speed: How quickly the display updates during the fine search (final 3m) determines how fast you can pinpoint the burial location. Faster processing = faster rescue.
- Group check function: Some beacons can verify that all group members' beacons are transmitting before departing — a safety check that catches dead batteries or beacons accidentally in search mode.
Top Avalanche Beacons Compared
| Beacon | Antennas | Range | Multiple Burial | Weight | Price |
|---|---|---|---|---|---|
| Mammut Barryvox S | 3 | 70m | Advanced (marking + flagging) | 210g | $370 |
| BCA Tracker4 | 3 | 55m | Big Picture mode | 195g | $280 |
| Ortovox Diract Voice | 3 | 52m | Smart antenna technology | 210g | $350 |
| Arva Neo BT Pro | 3 | 60m | Marking function | 220g | $320 |
| Pieps Powder BT | 3 | 60m | Advanced marking | 200g | $340 |
Mammut Barryvox SEDITOR'S CHOICE
The benchmark for avalanche beacons. 70m search range is the industry leader. The intuitive circular display and automatic antenna switching make searches faster. Bluetooth connectivity allows firmware updates. The marking function for multiple burials is the most reliable in testing. Group check verifies all party beacons before departure.
- 70m search range — industry best
- Intuitive display under stress
- Excellent multiple burial handling
- Bluetooth firmware updates
- Group check function
- Most expensive option at $370
- Rechargeable battery requires charging discipline
- Advanced features have a learning curve
BCA Tracker4BEST VALUE
The Tracker4 strips beacon technology to the essentials and executes them brilliantly. The "Big Picture" search mode shows all signals on screen simultaneously — no marking needed for most multiple burial scenarios. The large, bright display is easy to read with goggles and gloves. Runs on standard AAA batteries available anywhere. At $280, it's the best beacon for most users.
- Simple, intuitive interface
- Big Picture mode for multiple burials
- Large, bright display
- Standard AAA batteries
- Great price-to-performance
- 55m range is below top tier
- No Bluetooth/firmware updates
- No group check function
Ortovox Diract Voice
The Diract Voice is unique: it provides voice guidance during searches ("turn left," "go straight," "slow down"). This audio feedback supplements the visual display and helps searchers who freeze under stress. Smart antenna technology automatically selects the optimal antenna configuration. A thoughtful design for high-stress situations.
Avalanche Probes
After your beacon narrows the burial location to within 1-2 meters, the probe pinpoints the exact position and depth. You assemble the probe (it deploys like a tent pole with an internal cord), then systematically probe the snow in a spiral pattern from the beacon's pinpoint location. When you hit something that isn't rock, you've found the victim.
Probe Selection Criteria
| Feature | What to Look For | Why It Matters |
|---|---|---|
| Length | 260-320cm | Average burial depth is 1-1.5m, but can exceed 2m. 300cm is the standard. |
| Material | Aluminum or carbon | Aluminum is more durable and better at transmitting the "feel" of hitting a body vs. rock. Carbon saves 30-50g. |
| Diameter | 12-13mm | Thicker probes are stiffer and easier to push through dense debris. Don't go thinner than 11mm. |
| Deployment | Rapid cord-lock system | You need to assemble the probe in under 10 seconds with gloves on. Tension-cord with a locking mechanism is standard. |
| Markings | Depth markings in cm | Knowing burial depth before digging helps plan the excavation strategy. |
Black Diamond Quickdraw Tour Probe 300EDITOR'S CHOICE
300cm aluminum probe with a fast-deploying internal cord system. 12.8mm diameter provides excellent stiffness for probing dense debris. Clear depth markings. Folds to 42cm for pack storage. The deployment mechanism works reliably with gloves at -20°C. The industry standard for good reason.
Avalanche Shovels
The shovel is the tool that actually saves the life. After the beacon locates and the probe pinpoints, you dig. Avalanche debris is not fluffy powder — it sets up like concrete within minutes. A proper avalanche shovel must move large volumes of dense snow quickly. This is the most physically demanding part of a rescue, and the tool you'll spend the most time using.
Shovel Selection Criteria
- Blade material: Aluminum is mandatory. Plastic/lexan blades bend or shatter in avalanche debris. Titanium saves weight but costs significantly more.
- Blade size: Larger is better. A blade volume of 2.5-3.5 liters moves more snow per scoop. Don't sacrifice blade size to save weight.
- Shaft: Extendable telescoping shaft (60-80cm) provides leverage. A fixed short shaft limits your digging power.
- Hoe mode: Some shovels can reconfigure into a hoe (blade perpendicular to shaft), which is more efficient for the "strategic shoveling" technique recommended by avalanche rescue experts.
- D-grip vs T-grip: D-grip is preferred — it's more comfortable for extended digging with gloves and provides better control.
BCA B-2 EXT ShovelEDITOR'S CHOICE
The B-2 EXT has a large aluminum blade (3.0L volume), extendable shaft for leverage, and converts to hoe mode for strategic shoveling. D-grip is comfortable with thick gloves. The flat blade edge cuts through debris efficiently. At 680g, it's not the lightest but it's the most effective digger in our test. This is the shovel to buy.
- Large 3.0L blade volume
- Hoe mode for strategic shoveling
- Extendable shaft for leverage
- D-grip with thick glove compatibility
- 680g is on the heavier side
- Bulkier when packed
- Extension lock requires practice
Ortovox Kodiak ShovelBEST VALUE
Lighter at 560g with a 2.6L blade. The oval shaft is strong and ergonomic. Doesn't have hoe mode but the flat blade cuts well. Excellent for weight-conscious tourers who still need a capable shovel. Telescoping shaft extends to 75cm.
Companion Rescue Technique: The 5-Step Process
Avalanche rescue is a sequential process. Each step must be completed before moving to the next. Speed matters at every stage — but accuracy matters more. A sloppy search that misses the signal wastes more time than a careful one.
Step 1: Scene Safety (30 seconds)
Before rushing into the debris, assess the situation. Is there risk of a secondary avalanche? Designate a lookout. Count how many people are missing. Note their last-seen points. Call for help (satellite communicator or phone) while the search begins.
Step 2: Signal Search (1-5 minutes)
Switch your beacon to search mode. If you saw where the victim was caught, go there first. Otherwise, execute a search pattern: move in strips 40m apart (within your beacon's range) across the debris field. Modern beacons will show a distance reading and directional arrow once they pick up a signal.
Step 3: Coarse Search (30 seconds - 2 minutes)
Follow the beacon's directional arrows while monitoring the distance reading. Move quickly when the distance is large, slow down as numbers decrease. Keep the beacon at waist height, oriented parallel to the snow surface. Below 10m, slow your pace.
Step 4: Fine Search (30 seconds - 1 minute)
Within 3m, lower the beacon to the snow surface. Move it in a cross pattern (north-south, then east-west) keeping it flat against the snow. The lowest distance reading is directly above the victim. Mark this point. Do NOT dig yet.
Step 5: Probing and Excavation (5-15 minutes)
Assemble your probe. Insert it vertically at the marked point. If no strike, probe in a 25cm spiral pattern outward. When you hit the victim, leave the probe in place — it marks the exact location and indicates depth. Read the depth marking. Begin strategic shoveling: start downhill from the probe at a distance equal to 1.5× the burial depth. Shovel toward the probe, creating a ramp rather than a vertical hole. This is faster and prevents snow from collapsing back into the hole.
Practice Drills: Make It Muscle Memory
Owning the gear means nothing if you can't use it under stress. Adrenaline destroys fine motor skills and decision-making. The only antidote is practice until the sequence is automatic.
Drill 1: Beacon Search (Weekly)
Bury a beacon in a backpack under 30-50cm of snow. Practice the full search sequence: switch to search, signal search, coarse search, fine search, mark the point. Time yourself. Goal: under 3 minutes from switch to pinpoint.
Drill 2: Probe Deployment (Monthly)
With gloves on, deploy your probe from its storage configuration. Time yourself. Goal: assembled and ready in under 10 seconds. Practice in cold conditions — cord mechanisms stiffen in the cold.
Drill 3: Full Rescue Simulation (Quarterly)
Bury a beacon-equipped pack 50-100cm deep. Start 50m away. Complete the full sequence: search, pinpoint, probe, excavate. Time the entire rescue. Goal: beacon to face cleared in under 10 minutes for a 1m burial. Practice with your regular touring partners.
Drill 4: Multiple Burial (Twice per season)
Bury 2-3 beacons in separate locations. Practice the marking function (if your beacon has one) or the technique for searching past found signals to locate additional victims. This is the most challenging rescue scenario.
Complete Kit Comparison
| Kit Level | Beacon | Probe | Shovel | Total Cost | Total Weight |
|---|---|---|---|---|---|
| Budget | BCA Tracker4 ($280) | BCA Stealth 270 ($40) | BCA B-1 EXT ($45) | $365 | 1,020g |
| Mid-Range | Arva Neo BT Pro ($320) | BD Quickdraw 300 ($55) | Ortovox Kodiak ($45) | $420 | 1,080g |
| Premium | Mammut Barryvox S ($370) | BD Quickdraw 300 ($55) | BCA B-2 EXT ($55) | $480 | 1,150g |
Avalanche Survival Timeline
Frequently Asked Questions
How often should I replace my avalanche beacon batteries?
Replace alkaline batteries at the start of every season, even if the beacon shows battery life remaining. For beacons using rechargeable lithium batteries, follow the manufacturer's charging schedule. In cold conditions, batteries drain faster than the indicator shows. Never start a tour with less than 60% battery.
Can I buy a used avalanche beacon?
Strongly discouraged. You cannot verify a used beacon's internal condition, firmware version, or whether it has been damaged. Beacons should be sent to the manufacturer for testing every 3 years. A malfunctioning beacon is worse than no beacon — it provides a false sense of security. Budget beacons like the BCA Tracker4 ($280) are reliable new.
What's the difference between a 2-antenna and 3-antenna beacon?
A 3-antenna beacon processes signals from three perpendicular antennas, providing distance AND direction to a buried victim. 2-antenna beacons show distance but require more manual interpretation. All modern beacons worth buying use 3 antennas.
How deep can an avalanche beacon detect a buried person?
Most modern beacons have a maximum search range of 50-70 meters under ideal conditions. In practice, wet snow and burial orientation can reduce this to 30-40 meters. The critical factor is processing speed and accuracy during the fine search phase.
Do I need an avalanche airbag if I already have beacon, probe, and shovel?
An airbag complements beacon/probe/shovel — it doesn't replace them. The beacon system rescues after burial; the airbag prevents burial by increasing body volume so you float above debris. Studies show airbags reduce burial rate by ~50%.
Sources & Further Reading
- Swiss Federal Institute for Snow and Avalanche Research (SLF). "Avalanche Burial Survival Statistics." slf.ch
- American Institute for Avalanche Research and Education (AIARE). "Companion Rescue Standards." aiare.info
- Backcountry Access. "Beacon Search Technology." backcountryaccess.com
- Mammut. "Barryvox Technology and Specifications." mammut.com
- Tremper, Bruce. "Staying Alive in Avalanche Terrain." 3rd Edition, Mountaineers Books.


